
Valve Stem Leaks – Online Repair Options (Part 2)
Welcome to the Leak Repair Blog, where we bring engineering insight to the world of industrial leak repair. Today we’re diving into a common and often frustrating issue: valve stuffing box leaks and engineered enclosures for active valve stem leaks.
Before we begin, please note that this information is for educational purposes only. Always consult your site's Integrity Department or a qualified consultant before attempting any repairs on a leaking valve.
Valve Enclosures
There are two primary types of enclosures that are commonly used when other online repair methods aren’t viable. These are the full valve enclosure and the partial valve enclosure.
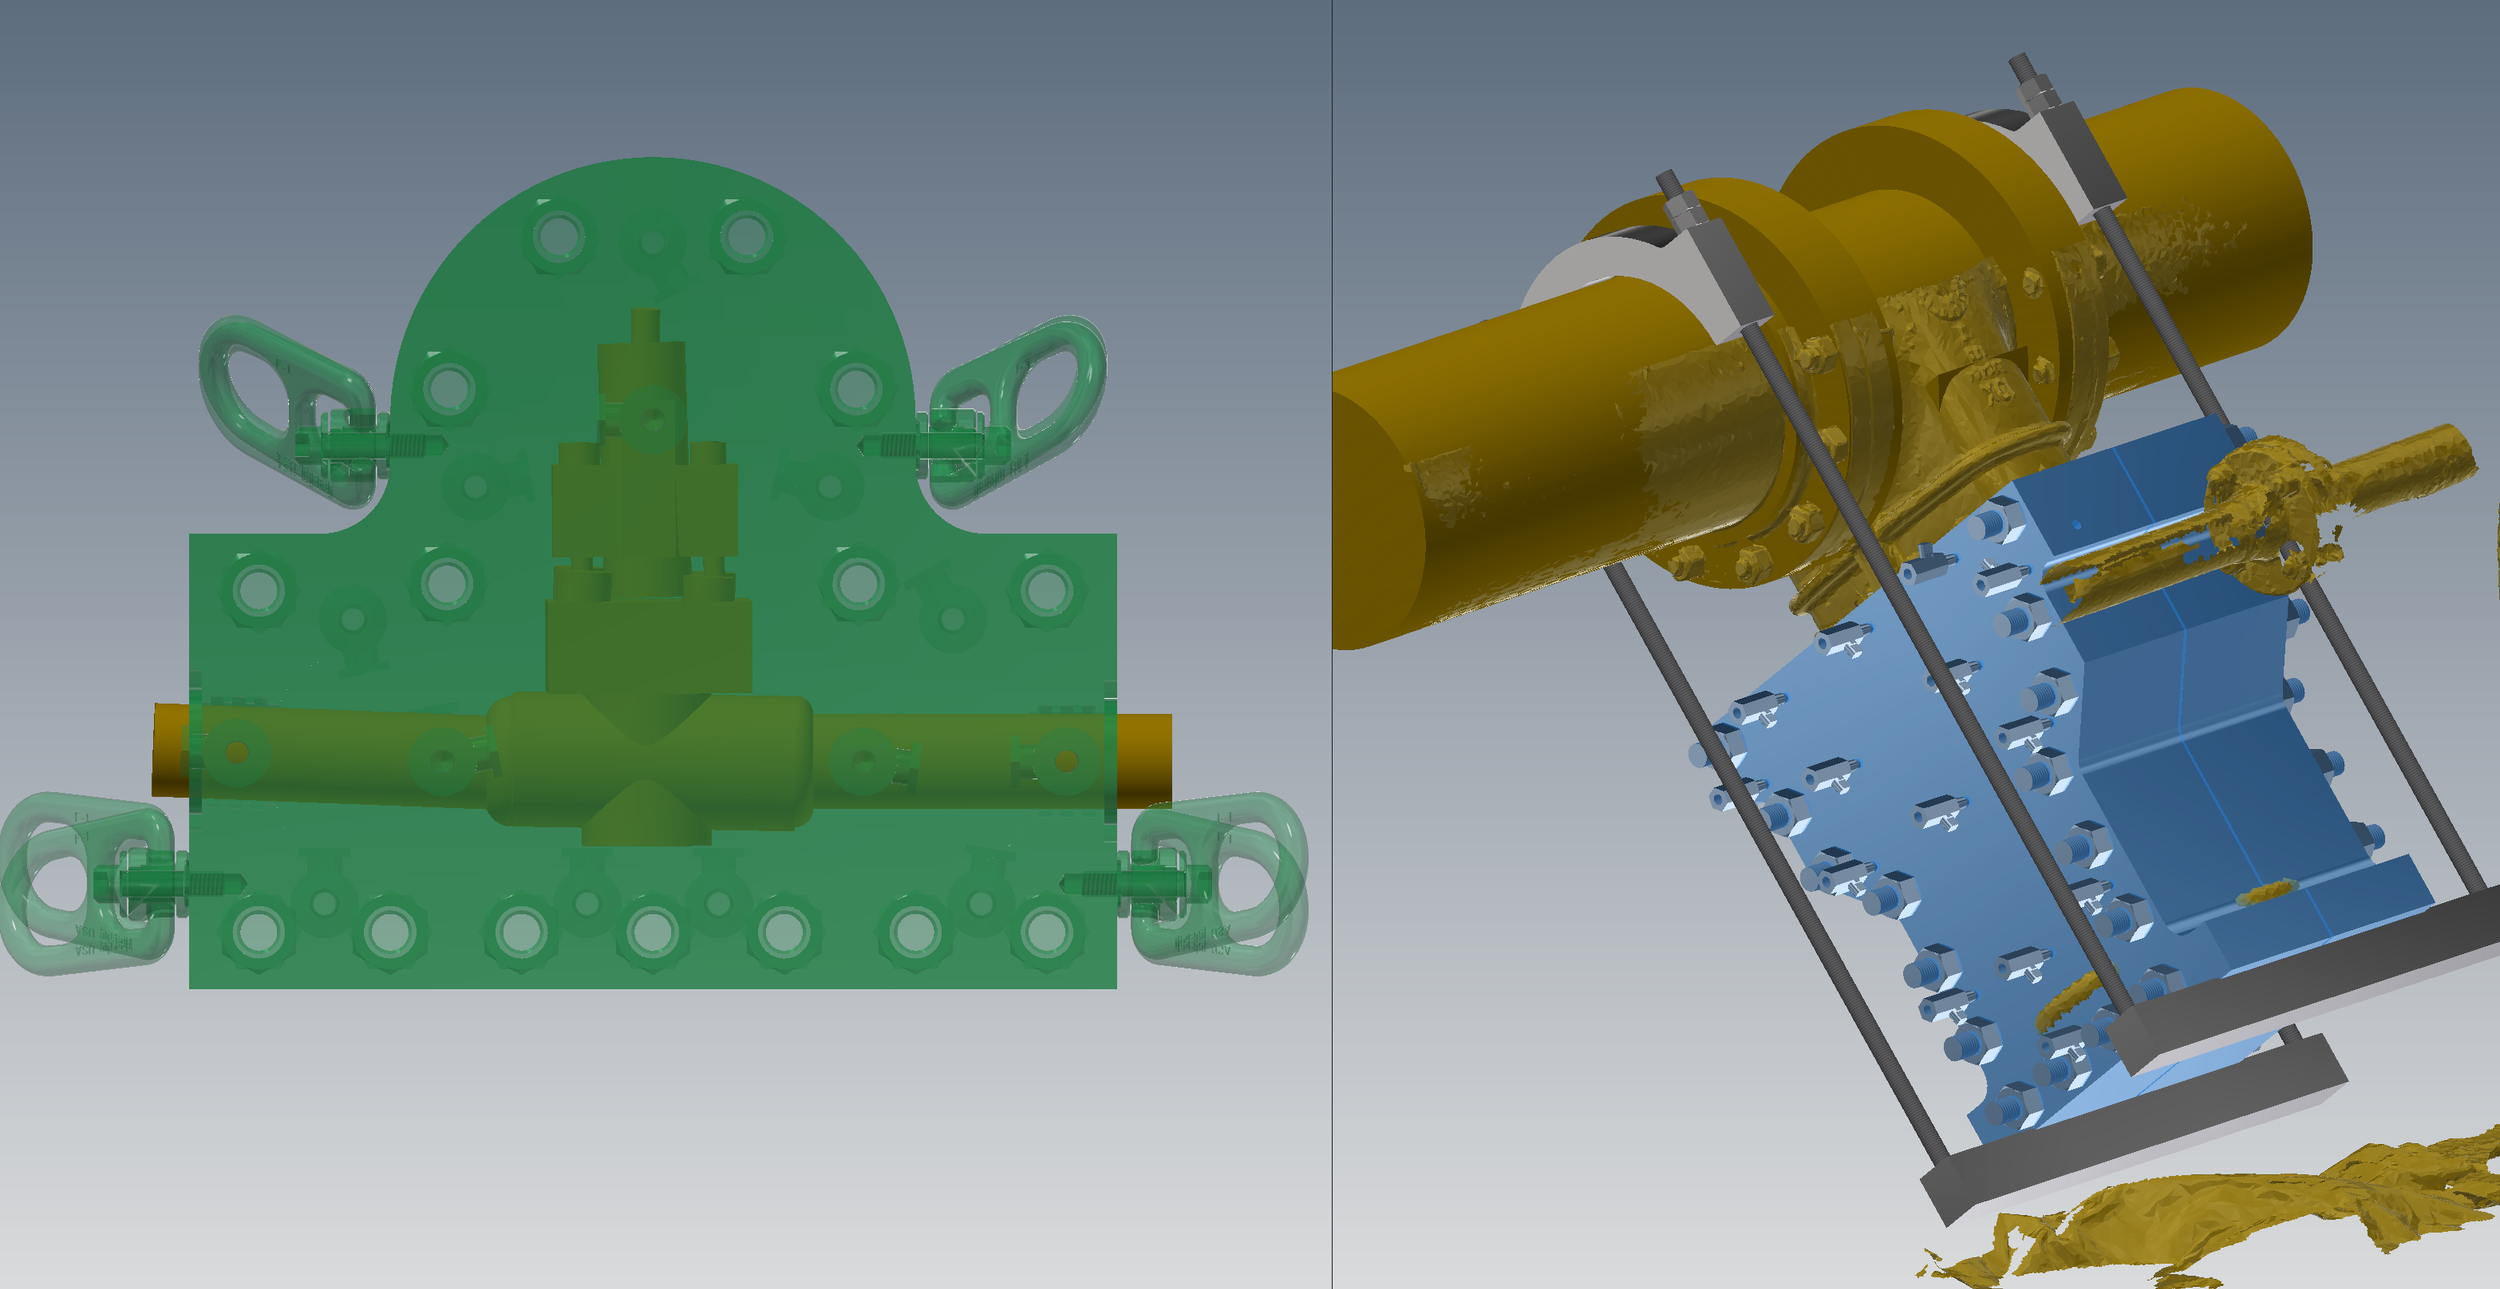
The image on the left shows a full Valve Enclosure, and a Partial Valve enclosure on the right.
Full Valve Enclosures
A full valve enclosure boxes in the entire valve. These enclosures are typically very stable as they often have 2 sealing points on the valve, one at each bore. The multiple points of contact hold the enclosure tight and prevent movement. These enclosures also have the benefit of containing future leaks, not just the one you’re fixing. So if the body or the flanges develop leaks later, they’ll still be safely contained inside the enclosure.

An example of how these enclosures would seal on a flanged valve is shown in this image. You can see that there is a seal on each flange face, and then injectable sealant is pumped into the flange gap to seal all the leak paths through the flange studs. An alternative to this would be to seal past the flanges, which would make the box a little heavier, but may offer the advantage of eliminating the need for strongbacking.
This style of enclosure will prevent access to the valve components, and the valve handle, rendering the valve inoperable after it is installed. So if the valve is open, or the valve is closed, when the box is installed that is the position it will remain in until the enclosure is taken off the line. Because the valve will not be operable after the enclosure is installed, the valve handle should be removed to minimize the overall size and weight of the box.
These types of enclosures are very common for small valves, as many small valves can be completely enclosed without the need to operate them. An example of this is shown here. This enclosure is profiled around a small valve and lands on the piping on each side of the valve. For welded valves as shown, or threaded valves, the enclosure will usually seal on the pipe just past the threads, or past the toe of the fillet weld.
Partial Valve Enclosures
The second type of enclosure is the partial valve enclosure. This style lands either on the valve bonnet or the valve body. This type of enclosure has a few advantages including being smaller and lighter weight than a full valve enclosure, they are potentially less expensive to manufacture, and they can also be used when there are physical obstructions around the valve which would make installing a full enclosure difficult or impossible.

Partial Valve Enclosures do come with some trade-offs. Because they only seal on one spot the valve, they’re not as stable as full enclosures which have multiple sealing locations. To address this, adding internal support inside the enclosure, may be necessary, depending on how the valve is positioned.
Other considerations for partial valve enclosures, are that they are not ideal for service conditions with significant pressure or temperature cycling, as these fluctuations can loosen the enclosure over time and may require periodic re-injections to keep the leak sealed. They’re also not ideal for environments with significant vibration, for the same reason.
A partial valve enclosure will always require strongbacking to prevent the enclosure from launching off the valve due to pressure inside the enclosure.
Regardless of which type of enclosure you use, it’s important to understand that the valve will be non-operational after installation. So if possible, remove the valve handle in advance to reduce the size and weight of the box. Also, make sure that the valve is in the right open or closed position prior to taking measurements on the valve and installing the enclosure.
If you do need to keep the valve operational, My Engineering ltd. can custom design a solution using an auxiliary handle mechanism, which I will demonstrate in another video/ article.
Stay Connected
If you’d like to learn more about topics like this, please Subscribe to our YouTube Channel or join our mailing list. We’ll send you more great information as it’s released.
If you missed Part 1 of this Article CLICK HERE
Thanks for reading and watching!