
How to Get the HIGHEST Accuracy from a Blue Light Laser Scanner
Blue light laser scanners are powerful metrology tools capable of capturing geometry with accuracy down to hundredths of a millimeter. However, owning a metrology-grade scanner does not guarantee metrology-grade results. Accuracy is highly dependent on how the scanner is used, how the environment is controlled, and how the data is processed.
This article breaks down the key factors that influence local scanning accuracy, based on real-world shop-floor experience using a blue light laser scanner in a QA/QC and inspection context. While the examples focus on small to medium objects and local accuracy (not volumetric accuracy), these principles apply broadly across most laser scanning workflows.
Temperature Stabilization: Why Warm-Up Matters
One of the most overlooked contributors to inaccuracy is thermal instability.
Laser scanners contain precision optics, sensors, and projectors that expand and contract with temperature changes. If a scanner is taken directly from a cold truck, storage cabinet, or unpowered state and used immediately, its internal components will continue to shift as they warm up.
How This Impacts Accuracy
Internal geometry changes slightly as the scanner warms.
Sensor alignment drifts during operation.
Measurements become inconsistent over time.
Best Practice
Allow the scanner to reach its normal operating temperature before calibrating or scanning. Once the temperature stabilizes, the system geometry levels off, creating a reliable baseline for accurate data capture.
Frequent Calibration: More Often Than You Think
Calibration is not a one-time task—it is an ongoing requirement for precision work.
Even with high-end scanners, field calibration compensates for small mechanical, optical, and thermal shifts that occur during daily use. Environmental changes, long scanning sessions, or temperature fluctuations in the shop can all degrade accuracy.
How This Impacts Accuracy
Uncalibrated scanners introduce systematic measurement errors.
Small errors compound when inspecting tight tolerances.
Drift becomes especially noticeable in QA/QC applications.
Best Practice
For high-accuracy work:
Calibrate at the start of the day.
Recalibrate after breaks (coffee, lunch).
Recalibrate if ambient temperature changes.
Recalibrate during long scanning sessions.
Calibration typically takes very little time to perform, and pays dividends in confidence and data reliability.
Scanning Distance: Finding the Accuracy Sweet Spot
Every laser scanner has an optimal working range where lens triangulation is most accurate. While scanners can collect data at long or very close distances, accuracy peaks when operating near the center of the designed range.

How This Impacts Accuracy
Too far: data is usable but less precise.
Too close: noise increases as lenses approach their limits.
Optimal range: maximum triangulation accuracy and stability.
Best Practice
Maintain the scanner at roughly 30–40% of the distance indicator range. This mid-range position provides the best balance of coverage and accuracy for most blue light scanners.
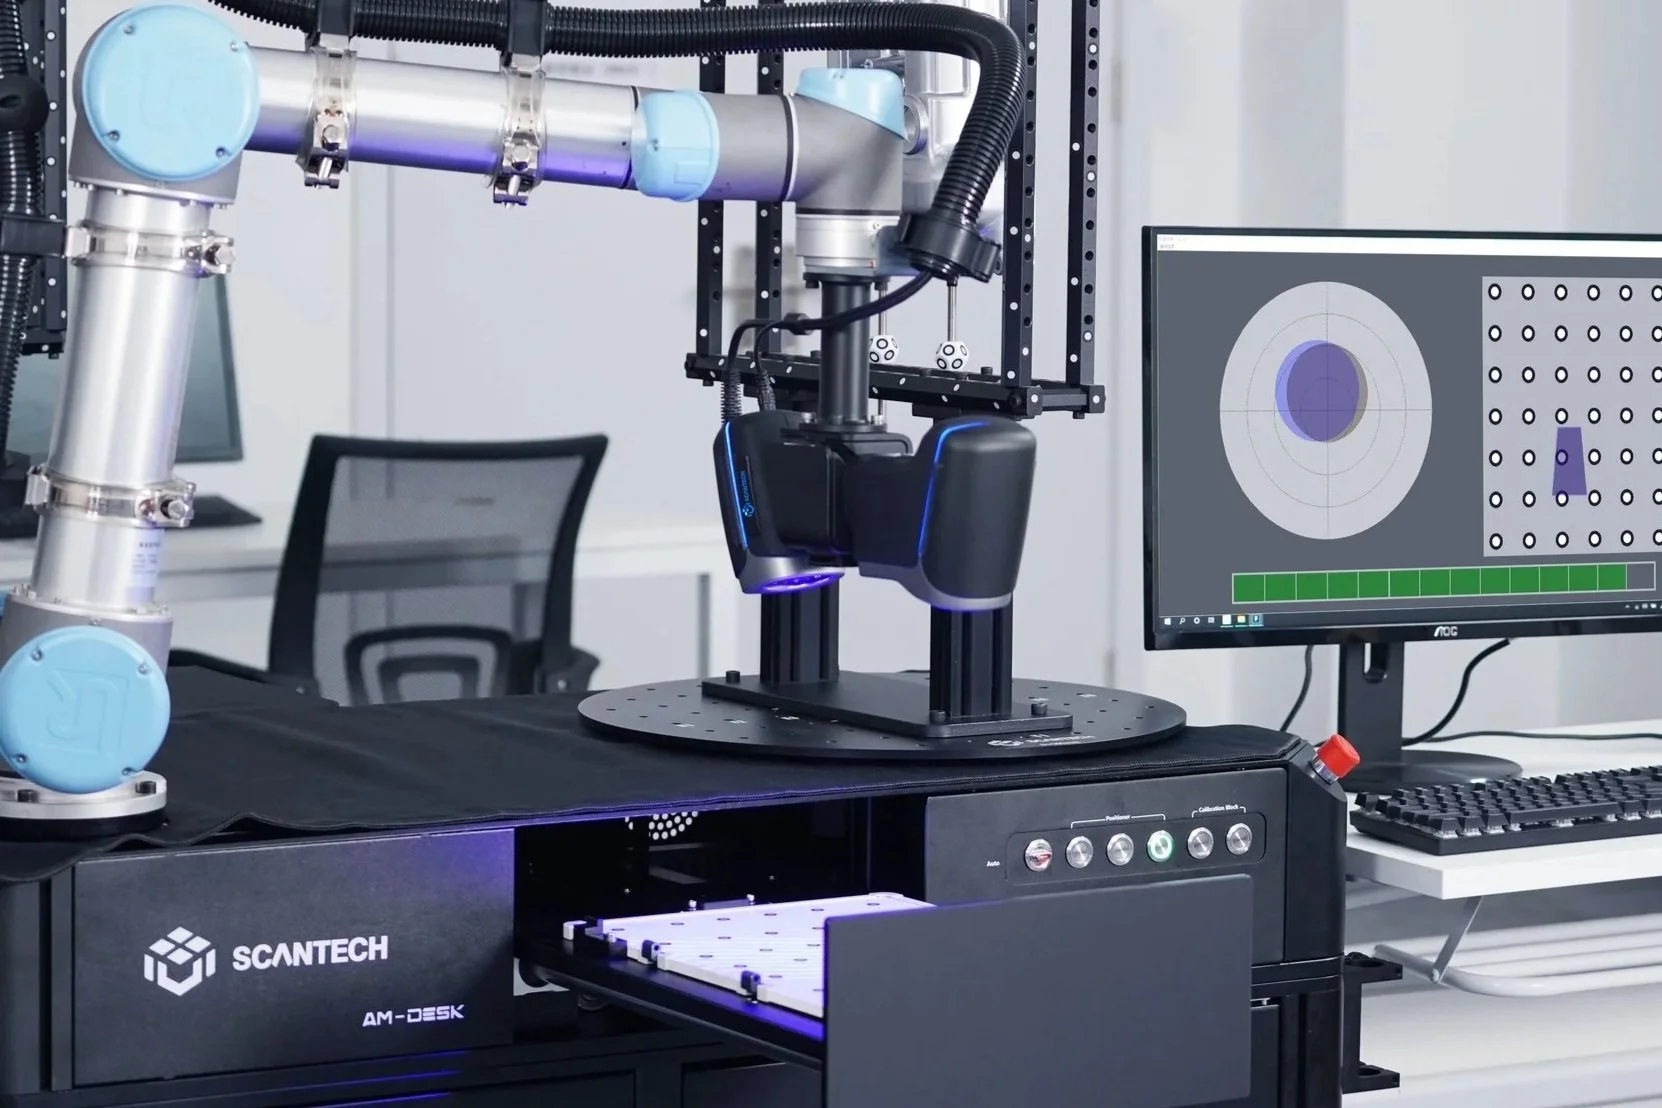
Marker Quantity and Distribution: Stability in Space
Reflective markers are the backbone of accurate laser scanning. Markers provide a fixed reference frame that allows the scanner to calculate its position in 3D space. While a scanner may operate with only a few markers, doing so reduces triangulation robustness.
How This Impacts Accuracy
Too few markers reduce positional stability.
Poor marker visibility increases registration error.
Inconsistent reference points distort measurements.
Best Practice
Always maintain at least four visible markers in the scanners field of view.
Use more markers than the minimum—there is no practical upper limit.
Ensure markers remain stationary relative to the part.
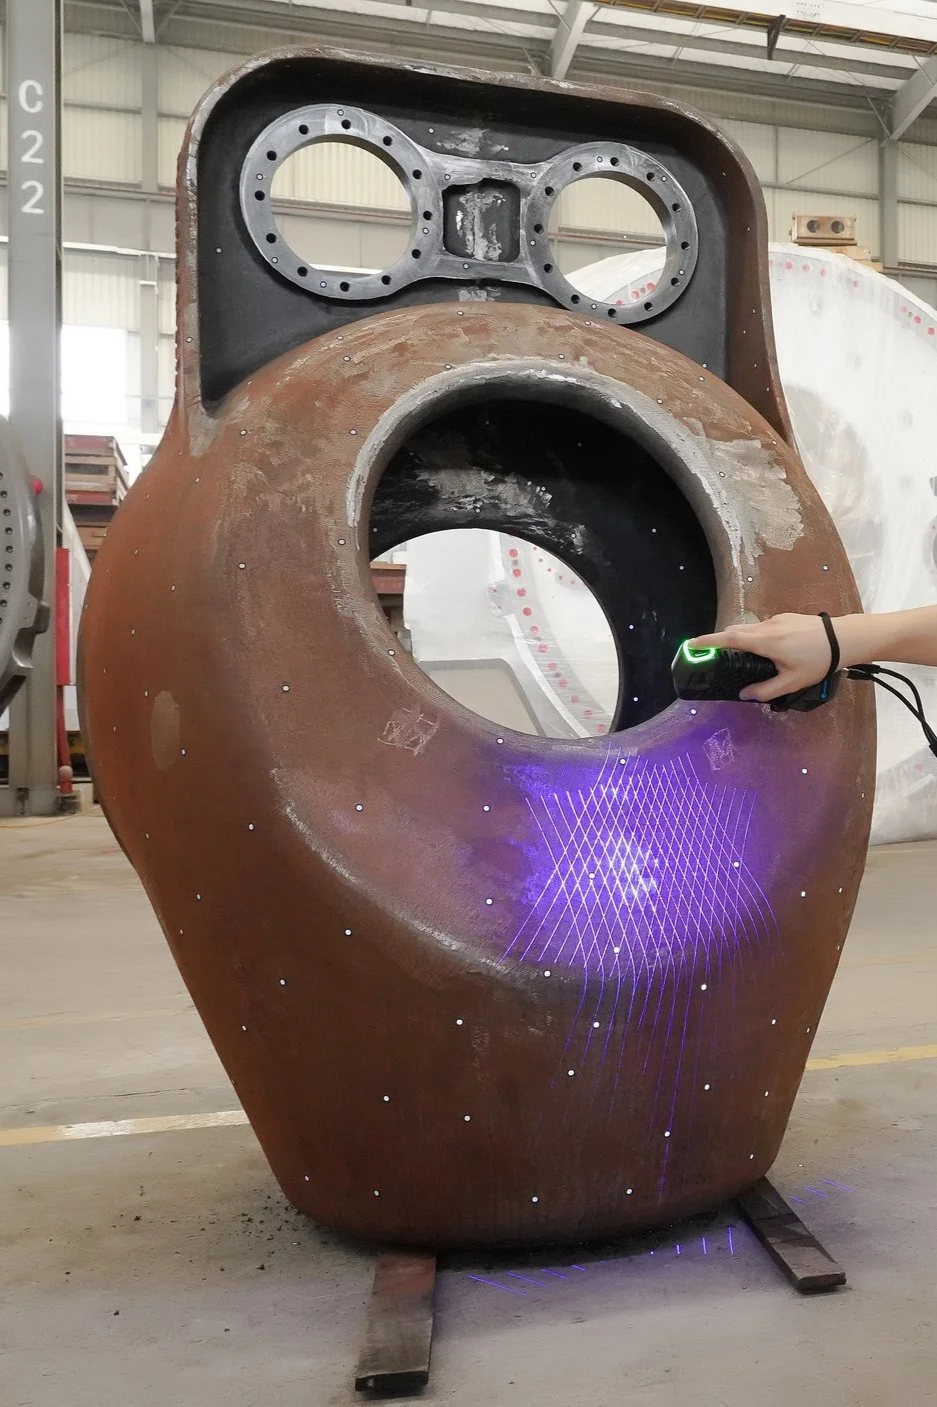
Randomization and Depth: Avoid Uniform Marker Patterns
Uniform marker grids (such as those on sticker sheets) are problematic because they lack uniqueness. Scanners rely on pattern recognition, and repeating patterns can confuse the system, especially during complex motion.
How This Impacts Accuracy
Uniform patterns create ambiguous reference frames.
Lack of Z-depth reduces spatial definition.
Registration becomes less reliable at certain angles.
Best Practice
Place markers randomly.
Vary depth and orientation.
Spread markers across multiple planes when possible.
Permanent marker coverage on workbenches, turntables, and fixtures can also dramatically improve repeatability.
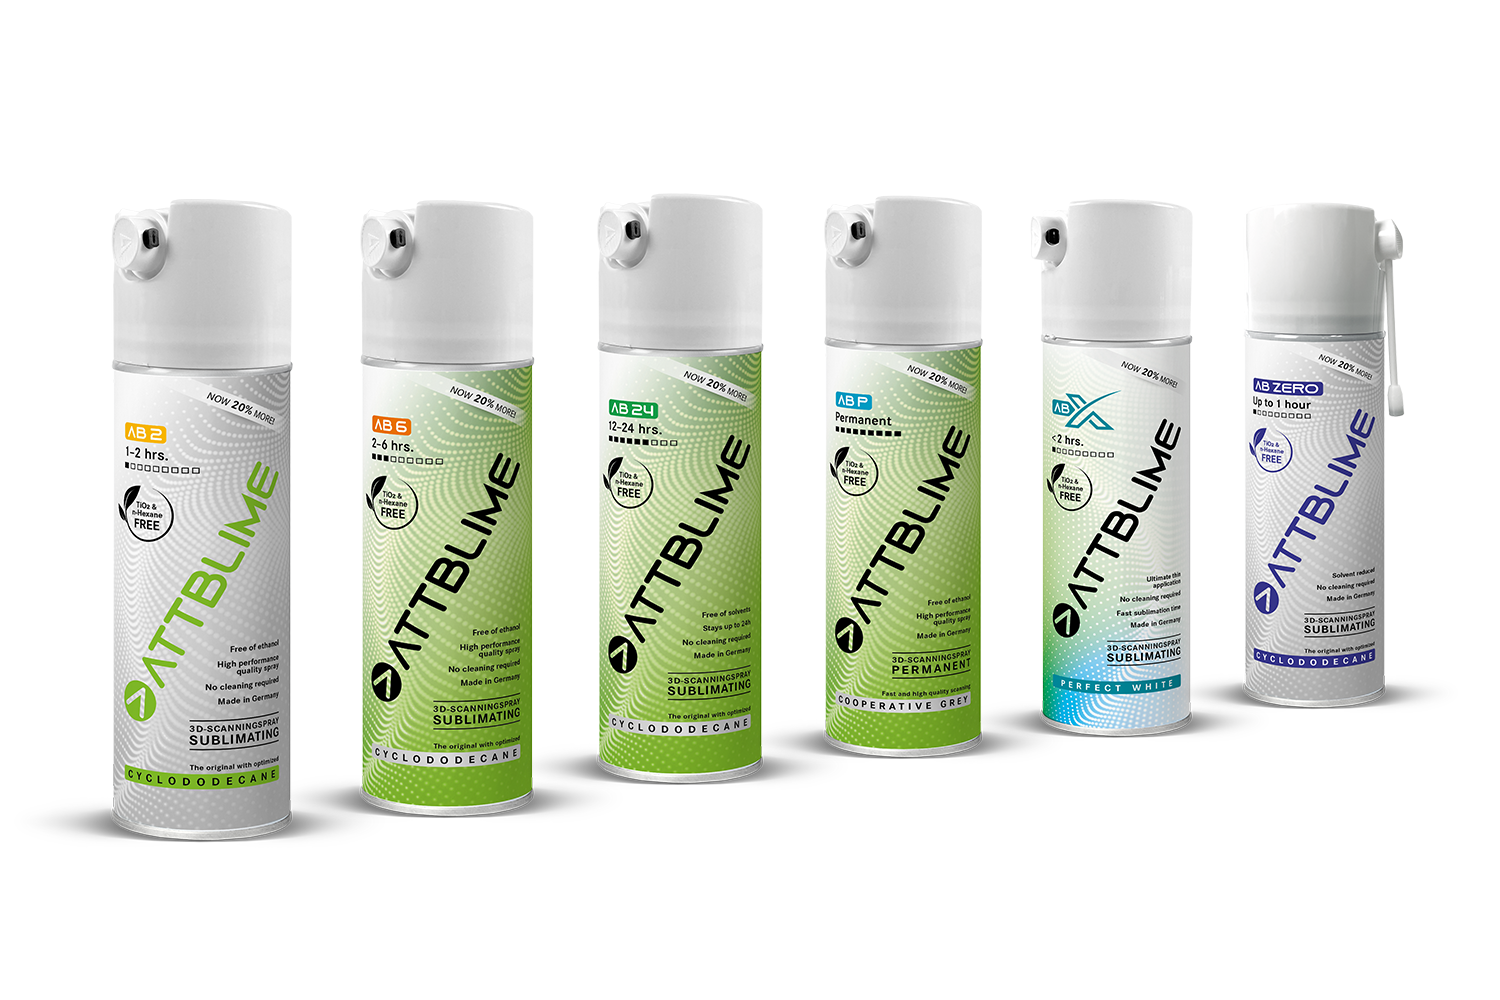
Surface Preparation: Ensuring a Strong Optical Return
Laser scanners rely on reflected light. Certain surfaces interfere with this process.
Problematic Surfaces
Matte black or absorptive materials.
Shiny or brushed metals.
Transparent or translucent materials.
How This Impacts Accuracy
Poor reflectivity results in weak or missing data.
Inconsistent returns introduce noise and gaps.
Best Practice
Apply a light dusting of scanning spray:
Improves reflectivity.
Sublimating sprays will evaporates without cleanup.
Minimizes added thickness.
Avoid over spraying as the thickness of the spray on the part, can alter the parts geometry in the scanned results.
Surface Cleanliness: Remove Unwanted Thickness
Dirt, grease, cutting fluid, water, or insulation fibers all physically alter the surface being scanned.
How This Impacts Accuracy
Contaminants add measurable thickness.
Fibers and debris create 3D noise.
Scanning spray becomes ineffective on wet surfaces.
Best Practice
Thoroughly clean and dry parts before scanning, especially in manufacturing and industrial environments.
Triangulation Angles: Multiple Perspectives Matter
Triangulation improves with varied viewpoints. Capturing data from different angles allows the scanner to confirm point positions more reliably in 3D space.
How This Impacts Accuracy
Capturing single-angle data is weaker.
Multi-angle triangulation strengthens confidence.
Marker positions become more robust.
Best Practice
Scan from multiple orientations and angles to reinforce triangulation between projectors, sensors, and markers.
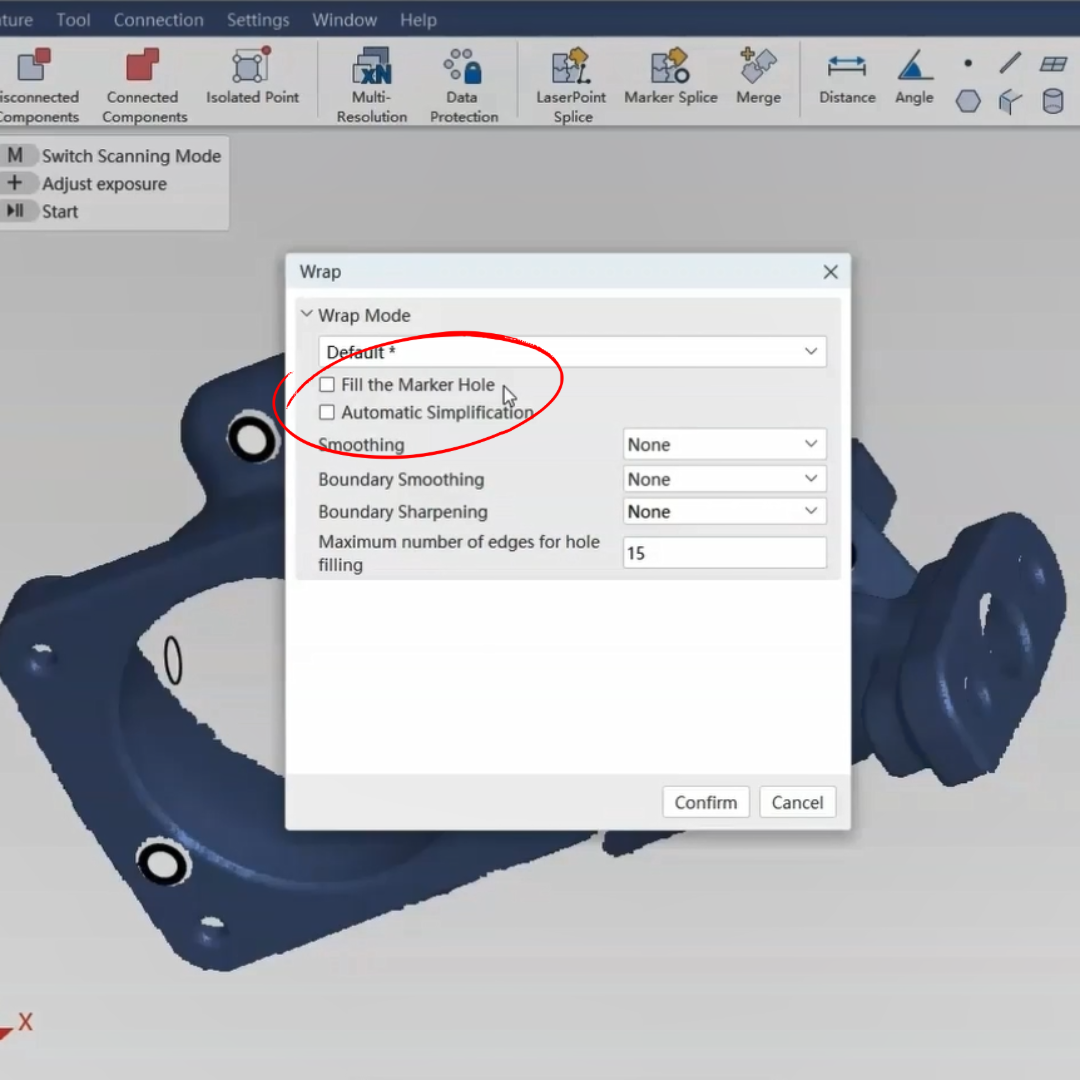
Post-Processing: Preserve the Raw Truth
Post-processing tools can make models look better—but often at the cost of accuracy.
Risky Operations
Marker hole filling.
Smoothing and boundary smoothing.
Hole filling.
Laser-based splicing.
How This Impacts Accuracy
The software interprets and invents data that may not be real.
Surface features can be altered.
Measurement reliability can be compromised.
Best Practice
For metrology applications:
Avoid smoothing and hole filling.
Preserve and back up the raw scan data.
Use marker-based splicing, not best-fit geometry alignment and laser based splicing.
Final Thoughts: Accuracy Is a Skill, Not a Setting
A blue light laser scanner is only as accurate as the workflow behind it. Preparation, calibration discipline, proper scanning technique, and conservative post-processing determine whether you achieve true metrology-grade results—or merely a good-looking model.
Master the tool, respect the process, and the accuracy will follow.