
Tips & Tricks: Transform Your 3D Scanning Workflow
Whether you’re new to 3D scanning or you're interested in refining your workflow and technique, these tips and tricks will help you scan effectively and efficiently, and get great results everytime!
Markers: Why They Matter and How They Help

What Are They?
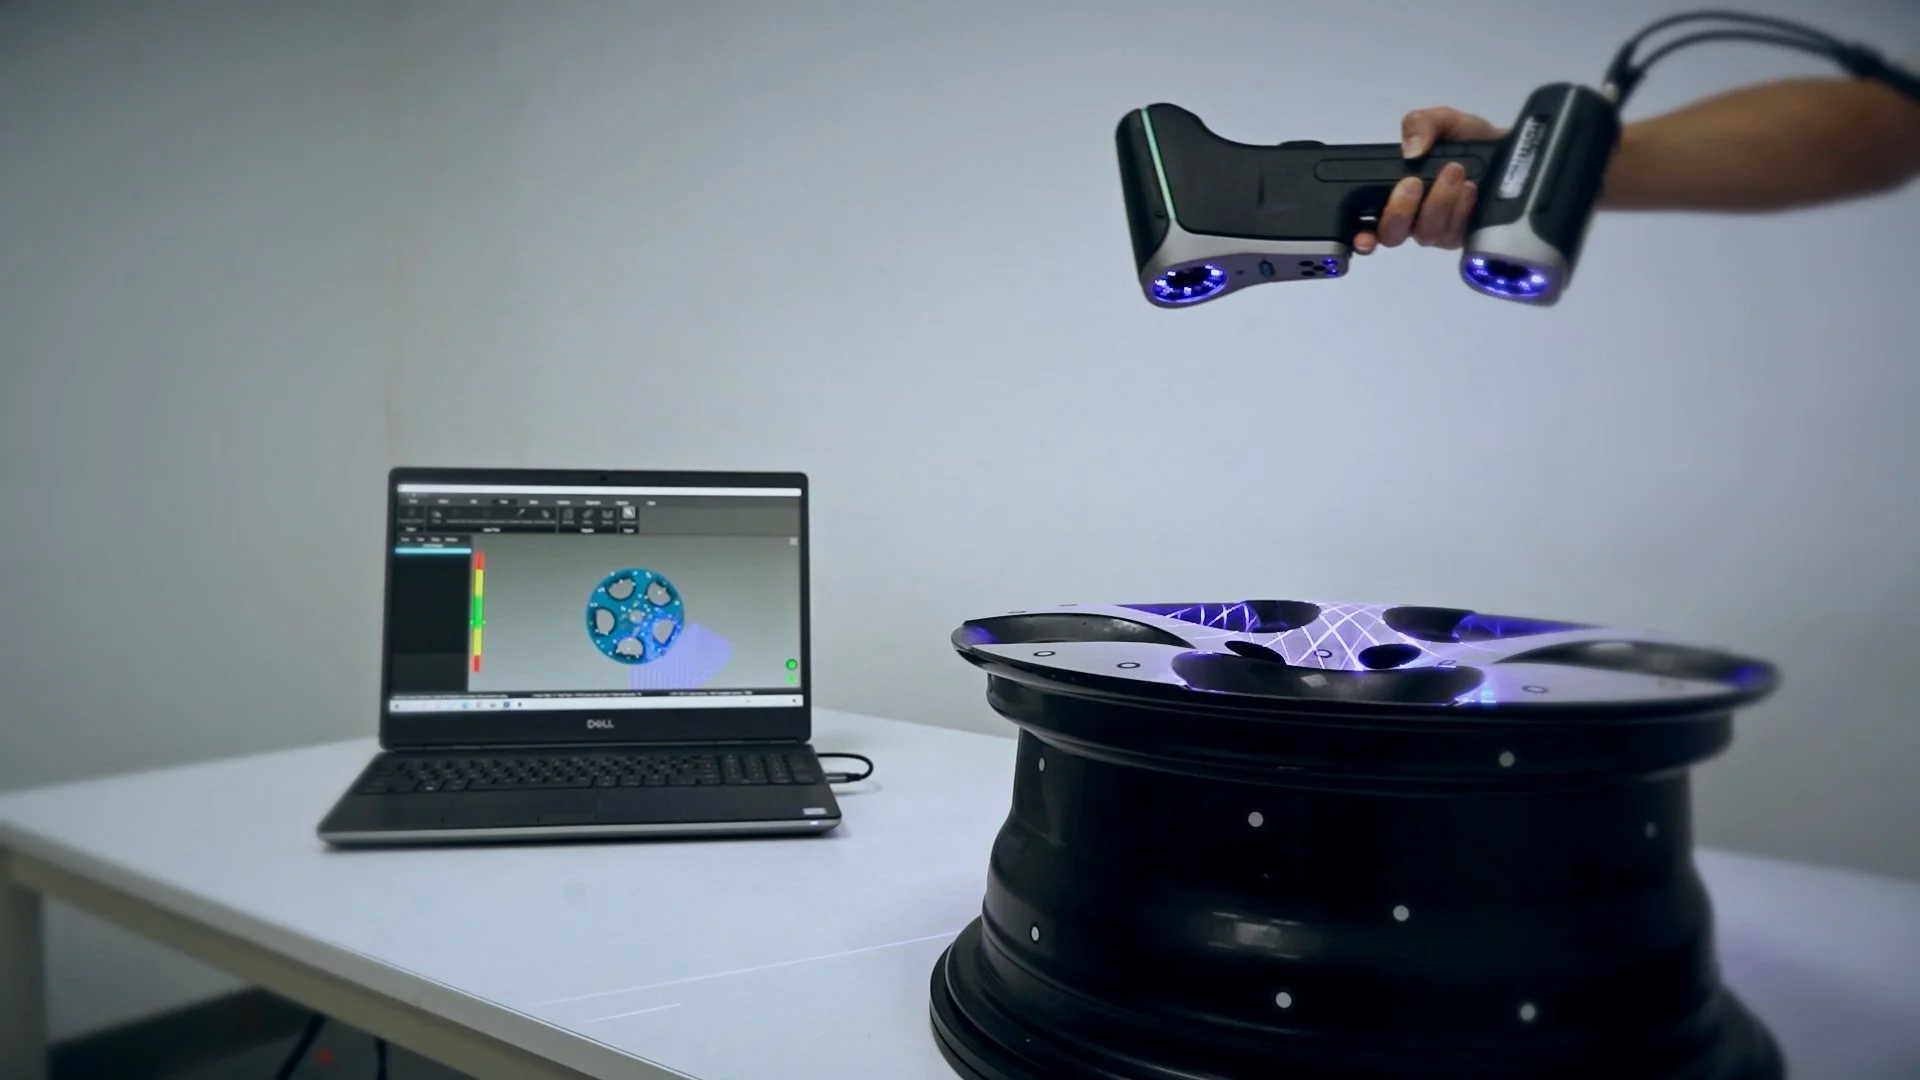
Markers act as reference points that help your scanner stay on track, especially in tricky environments. They care especially helpful when you're scanning large objects, complex environments, or highly reflective and textureless surfaces. Some 3D Scanners, such as Laser Scanners require markers in order to track their position.
Why Use Them?
Without markers, your scanner relies entirely on features in the environment—like edges or textures—to maintain alignment and position. Flat or reflective surfaces can be especially challenging. Markers will help the scanner to know its position in space.

Benefits:
Enhanced Accuracy: Minimizes misalignments, essential for reverse engineering or scientific research.
Workflow Flexibility: You can pause scans and resume later without losing position and perfect alignment. Also aid in aligning and merging multiple scans of objects (For example, where you may have scanned an object from multiple sides, and need to combine multiple scans into one model).
Environmental Stability: Markers help in challenging lighting, repetitive patterns, or even outdoor environments.
Resolution: Finding the Sweet Spot
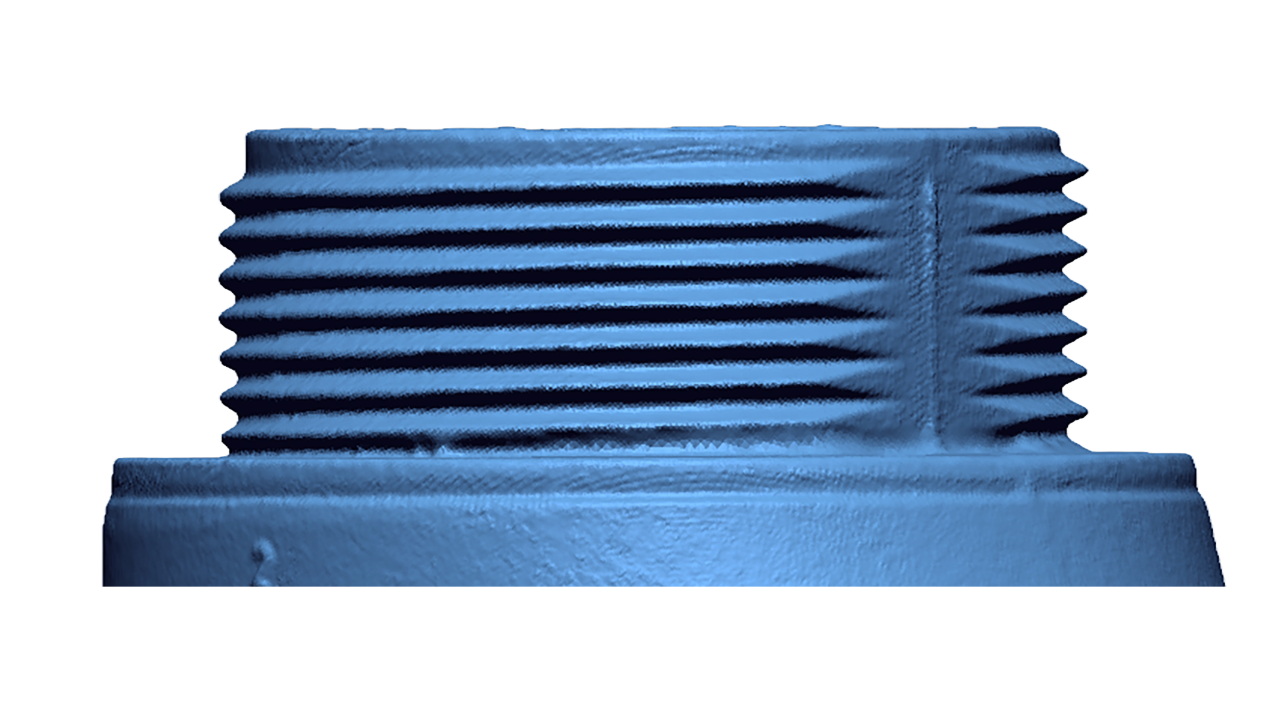
Just because your scanner can scan at 0.02 mm resolution doesn't mean you should. Higher resolution isn't always better.
High Resolution: Best for small, detailed objects like jewelry. Delivers incredible detail but creates huge files and longer processing times.
Low Resolution: Perfect for large, simple objects like furniture and large industrial parts. This will speeds up processing time, reduce file size, and is less taxing on computer hardware.

Tips:
Match your resolution to the object and your goal—not every scan needs microscopic detail.
Consider your computer hardware limitations. Don’t push for ultra-high resolution if your system can’t handle it.
For applications like VR or rough prototyping, lower resolutions are more than enough.
Rule of Thumb: Select Suitable Scanning Settings to Simplify Systems, Save Storage, and Secure Superior Scan Specifics.
Preperation for the Perfect Scan
Before you scan, preparation is a MUST! A few minutes of preparation can save you frustration and hours of additional work.

Prepare Your Object:
Clean it: Remove dirt, smudges, and anything that could interfere with your scans.
Place and Stabilize it: Position the object to maximize scanning coverage and avoid unexpected movement during scanning.
If it's shiny or transparent, use a scanning spray or add extra markers to improve tracking.
Prepare Your Environment:
Lighting matters: Aim for soft, diffused lighting. Avoid overly bright or dim setups.
Declutter: Clear unnecessary items from the background that might clutter the scan.
Understand Your Scanner

Know your scanner’s resolution and range limits.
Calibrate every time you scan—like tuning an instrument before a concert.
Choose a starting point with distinctive features. This helps your scanner lock onto the surface reliably.
Start With a Test Pass: Do a quick initial scan and check the data. It helps catch problems before you're halfway through a multi-hour project
Conclusion
3D scanning is both an art and a science. It's not just about capturing a shape—it's about capturing it accurately. Choosing the right resolution and understanding the practices that will make scanning efficient and accurate, will help you achieve better results.
At My Engineering, WE SPECIALIZE IN PREMIUM PRODUCTS AND SERVICES. We stand behind our products and we support our clients. We are experienced in the field of 3D Scanning, and we know what works best to get the results you need.
